
Still planning for tomorrow's "big battle One-Hour Wargames game". Been tinkering with the forces, and decided I had to play out some of the compositions. My goal is to minimize randomness and give everyone an equal chance at glorious victory [or disastrous defeat!] so I'm _somewhat_ going against the OHW structure and not rolling up forces. Don't get me wrong, I personally love to have a tough challenge, either solo or with a willing opponent, but tomorrow's the intro of a brand new paradigm to my old gaming group.
They've been playing rules with "loads 'o modifiers" for decades [no exaggeration], and where the game scenario is almost secondary - an afterthought - to the rules and modifier charts. Tomorrow I hope to intro them to the reverse, where just a few decisions are crucial to victory and the rules are pretty clean-cut. Also, where bad luck or trying to get a "gotcha!" in some way aren't very important. To that end I tried out the following scenario forces:
Scenario 4 "Take the High Ground" [left side of battlefield] for this I ran with:
Red Defenders, N. Welsh: 1 Cav, 1 Brigans [mtd], 1 Brigans, 3 Freemen
Blue Attackers, Feudal English: 2 Knight, 2 Bowmen, 2 Freemen
My thought was that the Freemen would hold the hill until the mounted forces relieved them, and the Brigans would affect the battle by being in the woods. But, NOPE, that wasn't it...
Turn 3, attacking Blue Knights trashing Freemen on hill. Red Freemen and Brigans moving down road while Blue Bowmen dominate the center and Freemen reinforce the hill...

Turn 4, Red loses both Freemen, and the hill, while Blue loses a knight. Roadway is dominated by a Red Freemen and their Brigans are entering the woods [ I'm such a dip - I moved the Brigans at the wrong rate the whole time...5" instead of 7.5"].

Turn 5. Blue Knights on road are nearly spent, but their Freemen hold the hill, while Bowmen are ready to hold their flank. Red side is spread out and not contesting, oops.

Top of Turn 6. Red shatters two Blue Knights, but Blue is nicely set up, despite both Bowmen being out of missiles, along with the Red Cavalry.

Bottom of Turn 6. Blue Freemen hit flank of Red Cavalry. Red Freemn along road rout. Red Brigans can't quite hit Blue Bowmen [shown by ruler, needing 5"].

Turn 7. Hope is lost for the Red defenders. Their Cavalry are almost done, and a fresh Red Bowmen [out of missiles, and thus able to charge] is moving onto the hill. Red Brigans are held off in the woods by Blue Bowmen on the road. Put a fork in it...

So I thought the attackers had it too easy - I could strengthen the defense with a unit of Serjeants [a Warlord's Teulu] on the hill, but I'm going to swap out a Knight for a Freeman:
Red Defenders, N. Welsh: 1 Cav, 1 Brigans [mtd], 4 Freemen
Blue Attackers, Feudal English: 2 Knight, 2 Bowmen, 2 Freemen
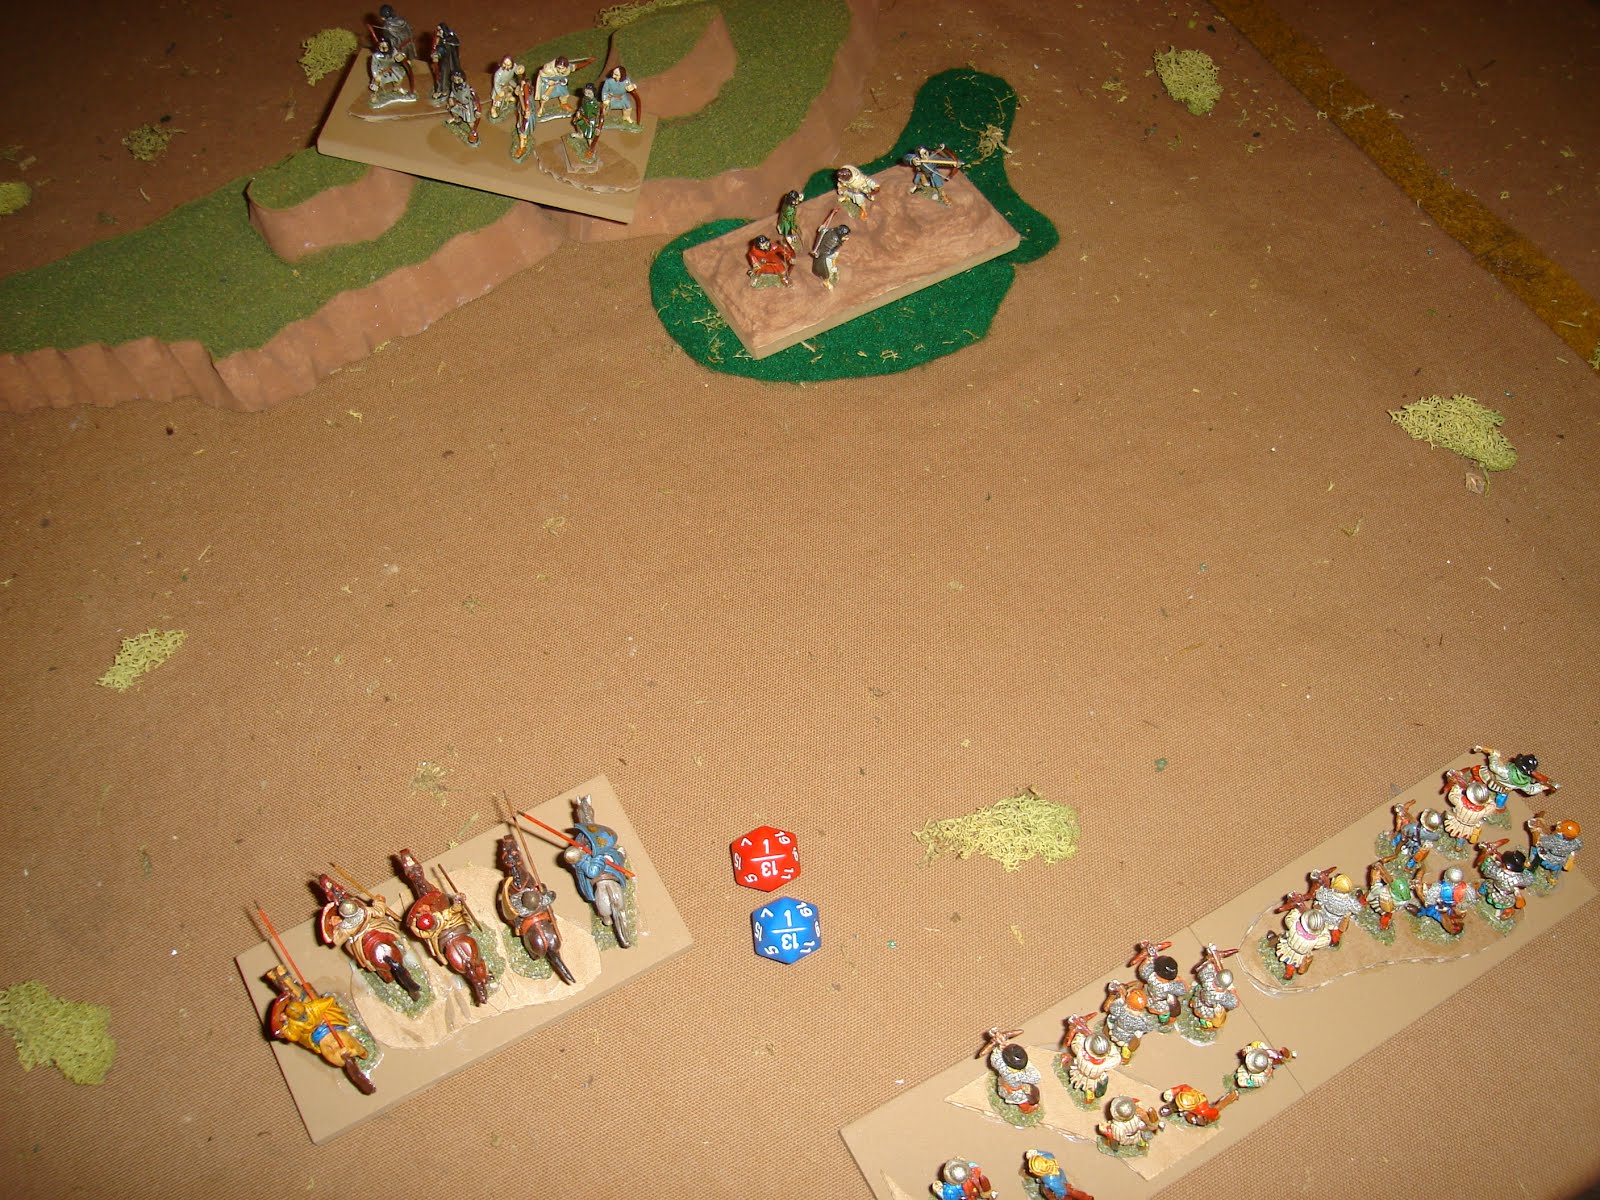
The center scenario I thought would be pretty clear cut, and used the following:
Scenario 8 "Melee" center
Red Defenders, S. Welsh: 1 Cav, 1 Brigans [mtd], 1 Brigans, 3 Bowmen,
Blue Attackers, Feudal English: 2 Knight, 2 Bowmen, 2 Freemen
Turn 1, Starting Positions. Red Units hold hill. Brigans are ready to hold woods.

Bottom of Turn 1. Blue Knight and two Bowmen advance on the Hill.
Turn 2. Red Units have little to do, but Brigans move into the woods. Blue forces close in.

Turn 3, no Surprises: Blue charges in. Brigans are at woods edge to have Line of Sight to Knights [or else they can't charge]. But they can be shot at, taking 4 Hits [halved in woods].

Turn 4. Red Brigans hit Knights Flank. Blue Bowmen shoot away, tearing up the Brigans. Red Mounted Brigans distract on the road, but are countered by Blue Freemen entering the board, and Bowmen turning to face.

Top of Turn 5. Red beats down Blue Knights - the risk didn't pan out... double enveloped, Blue Knights flee with 16 hits. It should be noted that the Red units are pretty weak - Cav are 3x2=6 Hits, but Bowmen are 4-2=2 Hits, and Brigans are 3-1x2=2 Hits. But they do it.

Bottom of Turn 5. Red Brigans [mtd] distract two Blue Units. Blue moves on hill.

Turn 6. Doesn't look good for blue. At Right, Freemen work forward with support from Bowmen against Red Brigans [mtd], at left, hope remains in Freemen and Bowmen.

Turn 7. Blue Freemen and Bowmen go for the hill while Knights rally off hits. In the woods, Red Brigans rally Hits also. At the road, the Brigans [mtd] distract two Blue units.

Turn 9. The tipping point. Red Bowmen and Cavalry tear up Blue Knights. Red Bowmen hold hill against Blue. Blue doesn't win skirmishing contest on right, as the Bowmen / Brigans combination is more than enough to handle the Freeman - Bowmen combo to right.

Turn10: Blue Bowmen and other Units falter. Nothing is going to be won, here.

Well, that was pretty lop-sided. Clearly, the attackers needed a bit more edge! Here, I'm going with upgrading the attackers a bit, to:
Red Defenders, S. Welsh: 1 Cav, 1 Brigans [mtd], 1 Brigans, 3 Bowmen,
Blue Attackers, Feudal English: 3 Knight, 1 Bowmen, 2 Freemen
The last scenario I don't know if I'll be able to play test. We'll see. At the moment, I'm uncertain what will be the forces, as they're supposed to be brought by one of the players. I think this is important since his armies are all WRG/DBx mounted, and I'd like to have two of them play off against each other.
Hopefully, this pans out. It is important as a gaming community that we address the issues of our community and play INTO them rather than AROUND them, and that includes addressing the issues of very complicated [and dated] rule sets, and low-fun gaming, IMHO.
No comments:
Post a Comment
Thanks for your comment! t will be posted after it's moderated.